How to set up Next.js app router analytics, feature flags, and more
Apr 05, 2023


Next.js release 13 added many improvements including the Turbopack bundler, an improved next/image component, changes to the Link component, and more. One of the big ones was the move from the pages to the app directory and router.
The app router includes support for layouts, server components, streaming, and component-level data fetching. These are all upgrades to the Next.js pages directory, but change the implementation of a Next.js app, including setting up PostHog. This tutorial goes over how to implement PostHog on the client and server side when using the Next.js app router.
If you use Next.js with the pages router, check out our other Next.js pages router analytics tutorial.
Creating a Next.js app with the app router
First, once Node is installed, create a Next.js app. Select No for TypeScript, Yes for use app router, and the defaults for every other option.
We name our app next-app and can go into the newly created folder to run it.
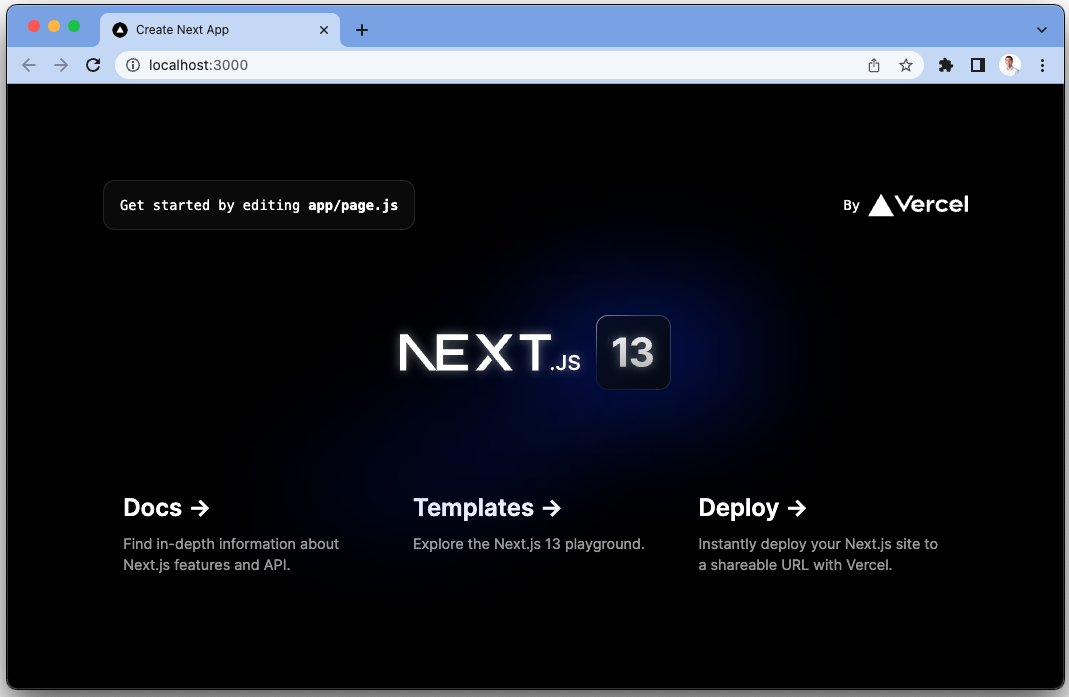
This opens a new page showing we are running Next.js.
Setting up PostHog on the client side
First, we need a PostHog instance (signup for free). From this instance, we need a project API key, which is in project settings, and an the relevant ingestion address (http://us.i.posthog.com, http://eu.i.posthog.com, or a custom address). Add both of these to a .env.local file in our base directory.
Using the Next.js app router requires us to initialize PostHog differently than with the pages directory. Specifically, the app router server-side renders components by default, and the posthog-js library is a client-side library. To make these work together, create a providers.js file and set up the PostHogProvider with the 'use client' directive.
Once we do this, we can then import the provider.js file in our app/layout.js file, and wrap our app in the PostHog provider.
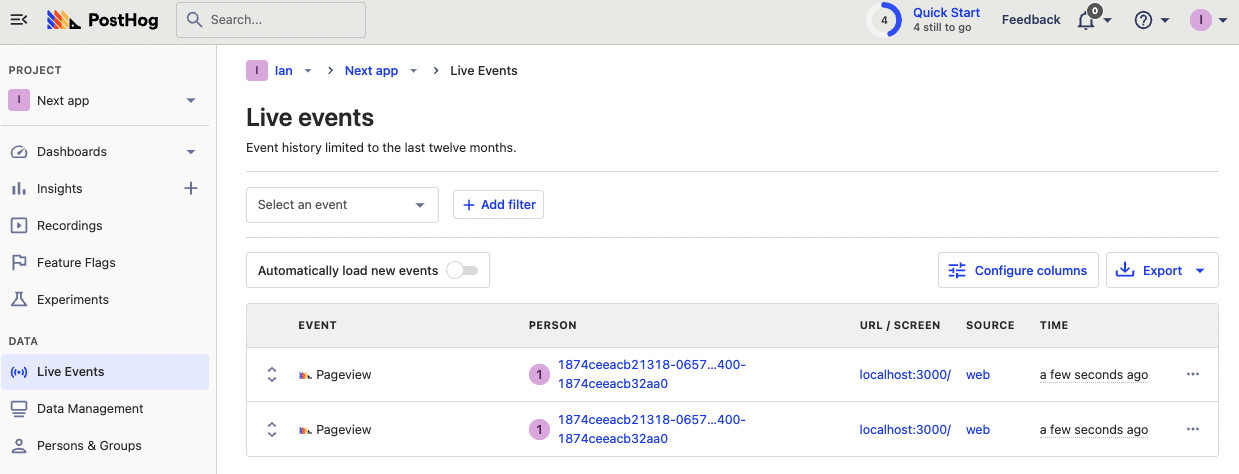
After setting this up, events start being autocaptured into your PostHog instance. This also means you can use the PostHog on the client side in all your client-side rendered Next.js components (the ones with the "use client" directive).
Note: If you don’t use the
"use client"directive, Next.js assumes your page is server-side rendered. This means the client hooks likeusePostHogcause errors. To interact with PostHog on the server side, use the PostHog Node SDK (which we show later).
Capturing pageviews on the client side
When used with the app router, Next.js replaces next/router with next/navigation. This means we need a new implementation for capturing pageviews beyond the first-page load because Next.js acts as a single-page app. Luckily, we can add the code to handle this into our provider.js file.
To start, we need another page to navigate to. In the app folder, create a new folder named about and create a page.js file inside with a basic component.
Change our app page.js file to a title and a link to the new about page.
Once this is set up, we create one more file named PostHogPageView.jsx. In it, we use the usePathname and useSearchParams client-side hooks from next/navigation to check when the URL changes and then capture a custom $pageview event. We use the data from the pathname and search params to accurately create string for the $current_url property too.
It is a separate file because useSearchParams will deopt the entire app into client-side rendering. To ensure we can still server-side render pages, we dynamically import it later.
This looks like this:
Finally, we dynamically import the PostHogPageview component in layout.js and add it in the <body>.
Once done, you should see pageview events for individual pages in your PostHog instance.

Using PostHog with server-rendered components
Server-rendered components are the default for the app router. getServerProps from the pages router is not used anymore. This means if we want server-side rendered feature flags or get other data from PostHog, we must use the PostHog Node SDK.
To set this up, create a posthog.js file in the app folder that returns a PostHog Node client:
We can then use this function to get access to the Node client in our server components.
Capturing custom events
As a basic example of what you can do on the server side, we can capture custom events as long as we have a distinctId. To do this, get the PostHogClient from the posthog.js file, then call posthog.capture() like this:
Setting up feature flags
We can create a server-side function along with the PostHog Node client to get data about a user’s feature flags, then use that data to conditionally render a part of the component.
To do this, create a feature flag in PostHog with the key main-cta , roll it out to 100% of users, and then add the code to check it in a function (in the example below, we name it getData()). Because you are awaiting the posthog request now, make sure to add async to the main About() function as well.
The feature flag does require a distinct user ID, which we hardcoded for now, but you could also set up authentication as we’ve shown in the Next.js analytics tutorial or cookies (using the Cookies function) as we showed in the Next.js A/B test tutorial.
With this, you have the basics of PostHog set up on both the client and server side with Next.js and the app router.
Further reading
- How to set up Next.js analytics, feature flags, and more
- How to set up Next.js A/B tests
- An introductory guide to identifying users in PostHog